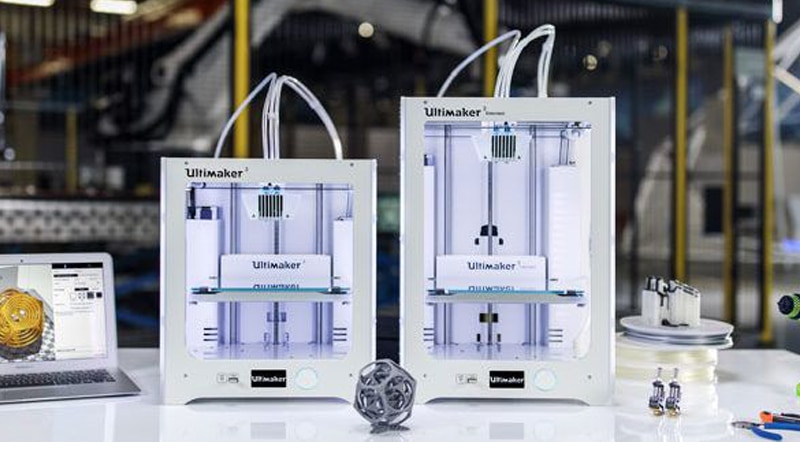
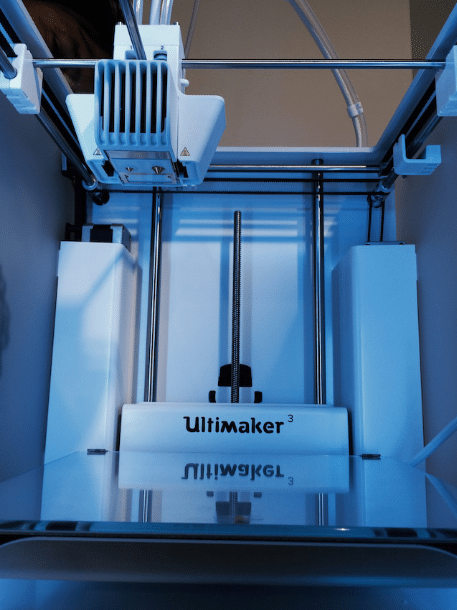
After a gigantic launch of Ultimaker 3 3D Printer, here we are with its first unboxing and review at Think 3D India. We will unbox the printer, install and put it through its paces. Also, we will be discussing the revisions that are done in the specifications and features of the printer.
Other than its general appearance, Ultimaker 3 has been launched with some major improvements than its former version- Ultimaker 2 and 2+. A lot of work has been done to increase the reliability and results of the machine. The print quality of this machine is simply amazing. Other than that, there is a noteworthy feature of dual extrusion.
The prices of Ultimaker 3 and its extended version are higher than the previous versions launched in the market. The Ultimaker 3 Extended is aimed for the businesses and it is being positioned in the Pro 3D printer segment.
Specifications:
Ultimaker 3 has been very interestingly and carefully created. It has layer resolution of 20 microns and increased print temperature of 280 C. Because of the higher layer resolution, the print should come out with smoother parts and more detailed. At the same time, with increased temperature, this machine will help with easy printing with materials like Nylon.
Nozzle and Print Head
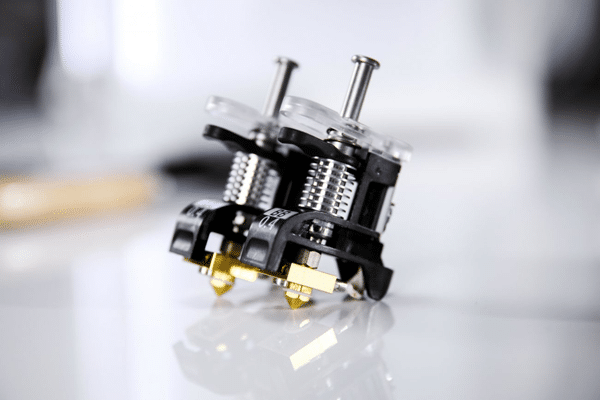
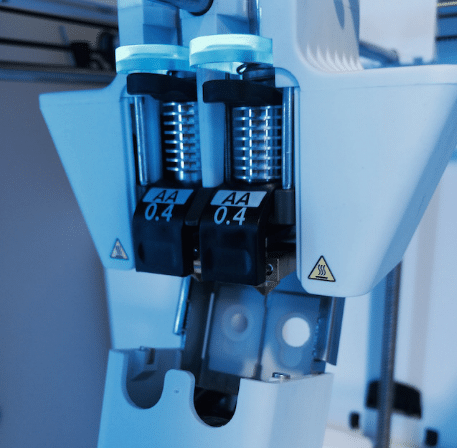
It is great that this machine has got dual nozzles that provide it with dual extrusion capabilities. With the help of this feature, you can print with 2 materials simultaneously. A 3D print support material can also be built alongside. In Ultimaker material dictionary, the AA materials are the build materials and the BB materials are the support materials. It is undeniably one of the major improvements done by Ultimaker.
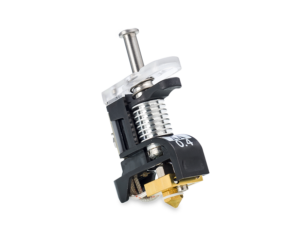
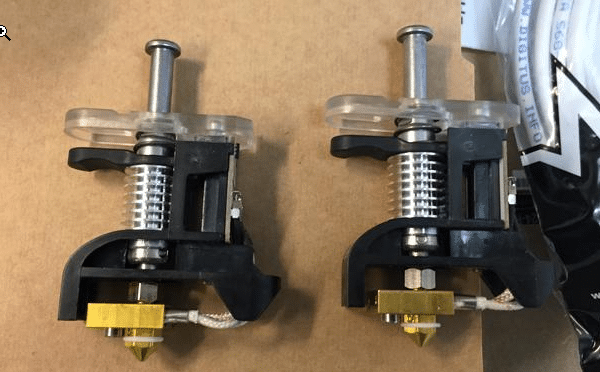
The machine has got a very resourceful and brilliant print head. With a click, you can easily remove the nozzles. All you need to do is to pull down the print head fan bracket and click out the core. You can use new cores that have to be adjusted well in the machine. In this way, this machine gives you the independence to use multiple nozzles for different kinds of materials. Since the print core nozzles are consumable, it will be interesting to check for their longevity.
The replacement cores can be found in both the AA and BB types at a price of 99 Euros. AA Cores are used for materials like ABS, Nylon, CPE and PLA and the BB core is optimized for PVA. With the expected increased availability of custom print cores, the production of more exotics will be provoked.
The 3D Print flexible materials have been harsh on Ultimakers due to the problems created by the feeder and the Bowden tube. The TPE materials are significant to the machine because of the many major applications that are founded for these flexibles. Polycarbonate will also soon be added.
The dual nozzle has been resourcefully placed and executed. Since there is a retraction on both the nozzles, the colors and the materials can be expected to mix well for the prints. This can be helping with the surface quality of models and the rounded edges as well.
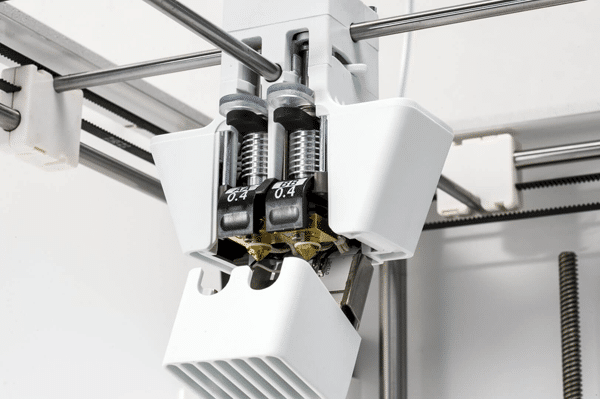
The size of the nozzle is 0.4 mm and the heat up time has been reduced to 2 minutes. Also, in Ultimaker 3, the cooling fans have been upgraded and now there are 2 cooling shrouds that are surrounding the nozzle. For your best assistance, there is a LED light indicator that turns on when there is any problem with the nozzle.
Build Plate and Build Volume

Ultimaker 3 has a heated borosilicate glass bed with the feature of automated bed leveling. There is an active bed leveling that recompense for the minor bed inaccuracies while the print process is going on. There is also a bed leveling procedure which is partly manual and helps with regulating the bed.
Time taken by the build plate to heat up has been revised and now it takes only 4 minutes for the heating up. It reduces the wait time. Since the build plate temperature is 100 C, new materials can be easily used by the machine to print different kinds of objects. The build volume of Ultimaker 3 is 215x215x200 and when used with dual extrusion, it is reduced to 197x215x200.
Feeder and Spool Holder
The spool holder is situated at the back of the machine. You can consider it as a drawback because the entire machine controls and the consumables are at the front of the machine. For both the spools, there is only one spool holder that is limited to a total of 750 grammes. It is difficult to fit a 1 kg large spool.
Controls
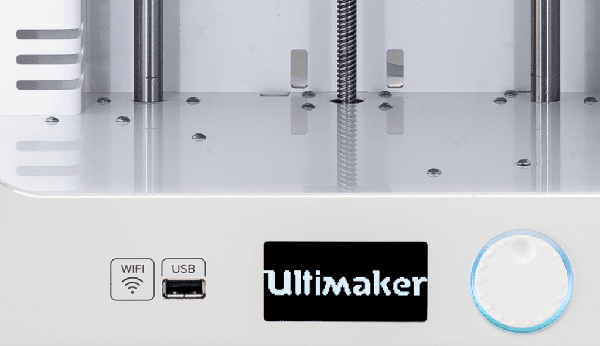
There was a time when SD cards were used to send files to the printers. Now, USB and wifi have replaced the SD cards for the same purpose. It is better to use Wifi network, especially in your office space as it will make your work super easy. Ultimaker 3 can be easily connected to Cura via Wifi or LAN systems to send files. Due to the tighter integration with Cura, it is easy to match different profiles of materials also. You will not find a fancy touch screen but the controls available with this machine are amazing and very quick in its working.
The Box:
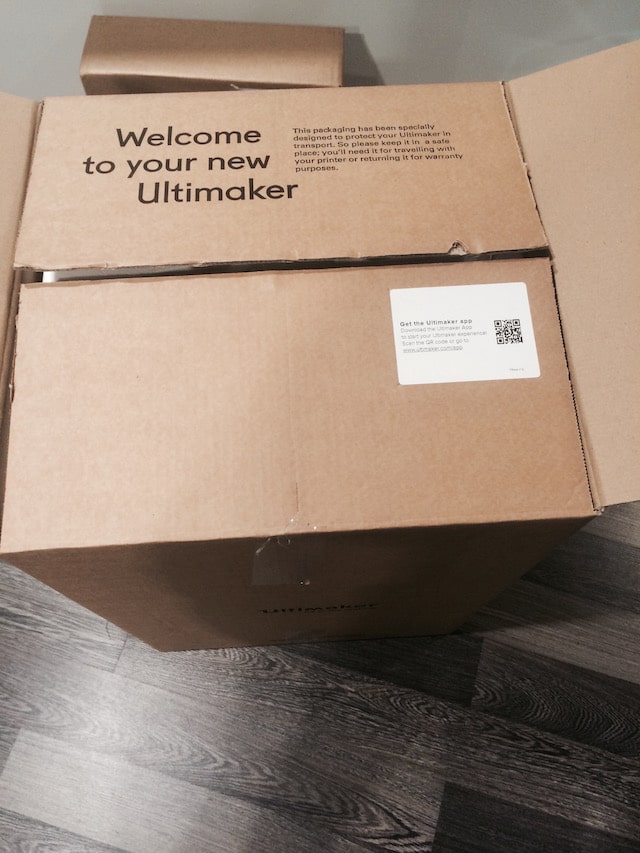
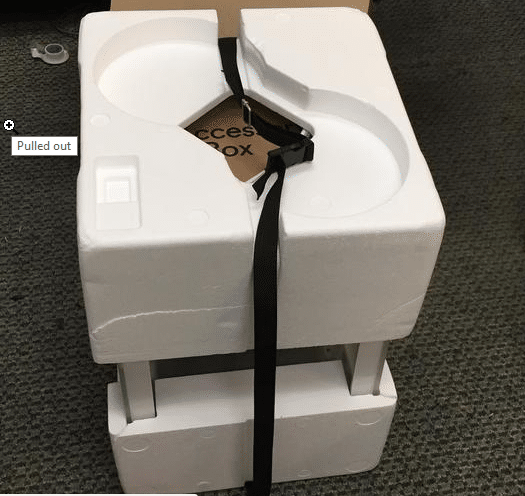
The printer comes in a standard brown box with a Styrofoam inner box in which the printer and its parts are carefully stacked. You can see on the box that it is both CE and UL certified. This certification specifies that it is an actual hardware device that is manufactured in Netherland.
Inside The Box:
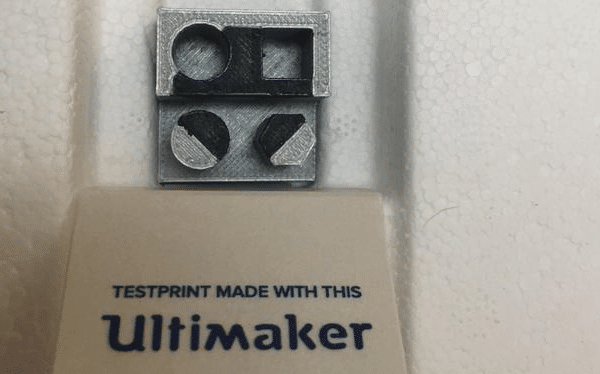
You will find the factory test print inside the box. It will be printed on the device. Then there are 2 spools of filaments PVA and PLA of 350 grammes each. Other than that, there are 2 AA cores and 1 BB core in the box.

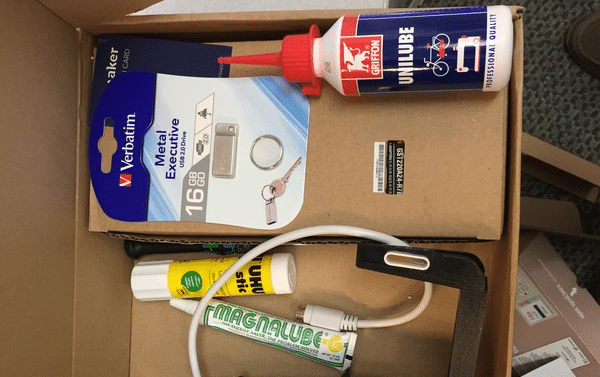
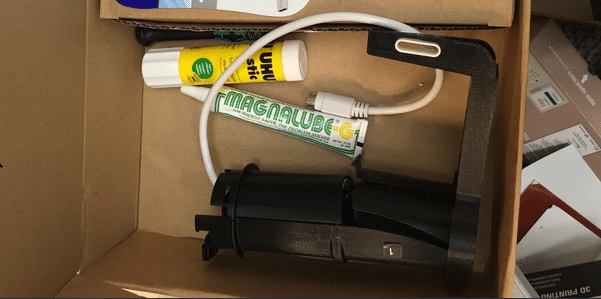
The glue stick can be found inside the box. Unlike previous times, it is the Uhu stick this time. Only the ABS materials require the usage of this stick. In order to generate best results with PLA, it is suggested to clean the build plate with detergent that is high in alcohol and avoid touching the top of it. You will also find X and Y axle machine oil and the Magnalube for the Z axle.
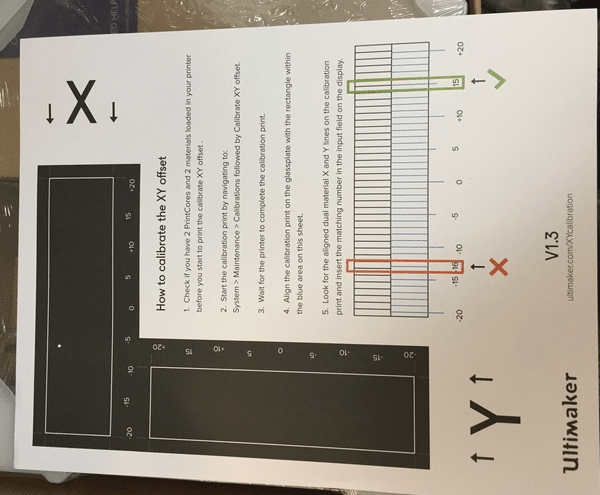
There is an XY calibration sheet that allows you to adjust the printer and the cores in more accurate way. There is also a calibration card in the box.
Unpacking and Set Up
You need to take off the accessory box and remove the Styrofoam enclosure. There are zip ties securing the axes. You need to cut them off.
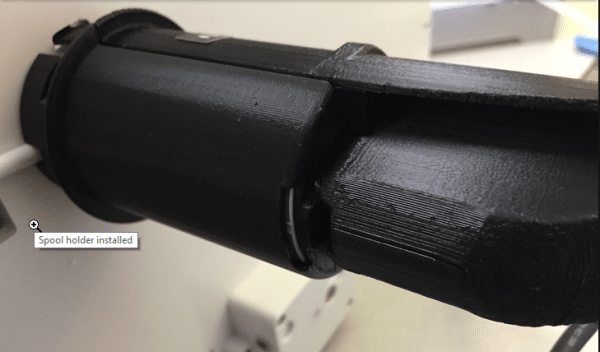
Just like the previous models of Ultimaker, the spool holder snaps on. Now, you can direct the NFC cable in its place and connect it. Then the cable cover must be snapped on.
You can easily place or remove the print core.
Just like the previous versions of Ultimaker, it is simple to feed the material. All you have to do is to gently slide in and let the wheels grab and hold. In this version, the printer will be able to detect Ultimaker NFC chipped materials and right settings are automatically updated.
The print material 1 which is print core AA on the print slot 1 is counter clockwise. It is the printer that tells you which core to put into the machine and detects the core and filament. It helps in an easy usage of the machine. It will be interesting to see how long the PVA spool will be able to operate in the humid room.
- The install and set up of the machine is easy and it works spontaneously
- Firmware updating and the Wifi is simply amazing
- Same main controls available including basic push/rotate button that allow spontaneous operation of the machine
You no more have to disassemble the head of the cores. It is super easy to replace or remove them
The front of the machine is quite familiar. Instead of the SD card, you will now find provision for USB. Also, the control wheel and the menu structure are very similar.
The Final Word:
The Ultimaker 3 is the finest 3d printer launched by this brand. It has many revised features that will make it an appropriate option for all kind of buyers. We understand that customers might find it a little overpriced but its features make it worth buying. This one can support different kinds of materials and the Cura system is worth every word of appreciation. It is one of the most reliable 3D printers available in the market today.