3D SCANNING SERVICES
- 3D Scanning, Digital Sculpting, Reverse Engineering, Dimension Inspection services, all under one roof.
3d SCANNING services
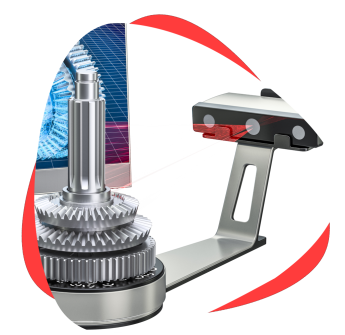
THINK3D has a state-of-art 3D Scanning facility with best-in-class equipment to scan objects from a minute highly detailed jewelry component to huge statues and factories. We offer Digital Sculpting, Reverse Engineering, Dimension Inspection, CMM Measurement services to our customers.
Quick Online Quote
Upload files in Get Quote section and get quote within 4 hrs
Technical Competency
Technically qualified team in various mfg. technologies
Competitive Pricing
Highly competitive price and bulk discounts also available
NDA & IP Protection
All designs and data are kept in highly secure private server
We have in-house
Digital Sculpting
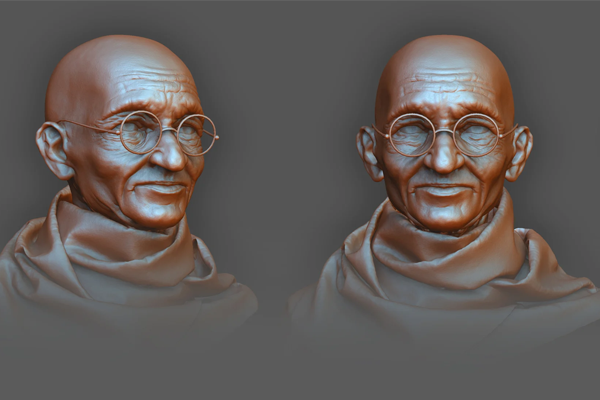
Digital sculpting tools provide the power and flexibility required in several stages of the digital production pipeline. By offering the sculpting and the polygonal modeling toolsets side by side, THINK3D greatly simplifies the transition between conceptual research and final model production. At THINK3D we use Maya, MeshMixer & ZBrush to create the 3D models.
Reverse Engineering
Reverse Engineering is the process of creating digital 3D file from physical object. THINK3D utilizes a wide range of metrology equipment and hardware along with a team that has years of experience in 3D Reverse Engineering Services to convert a physical object into digital file.
Dimension Inspection
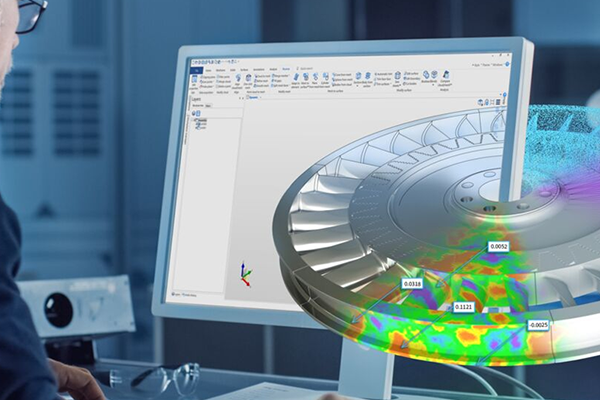
THINK3D provides detailed inspection of both 2D & 3D providing a full range of easy-to-understand reporting. The GOM measurement systems used by our team deliver the full-field scan data and sufficient resolution needed for genuine full-surface inspection, allowing the delivery of complete surface color-deviation maps, GD&T inspection back to drawing FAI and LAI and trend analysis across multiple-part inspection.
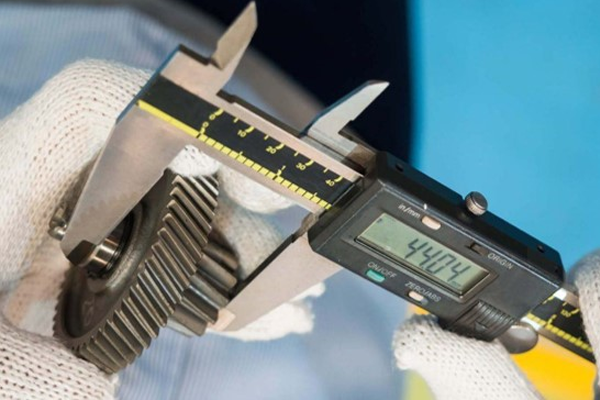
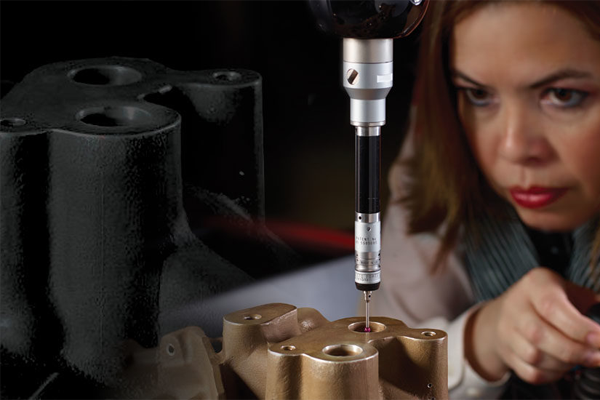
CMM Measurements
THINK3D provides specialist CMM measurement services on a range of parts and components – from single part measurement to large batches. We use best in class CMM machines to provide accurate measurement data. The CMM machine has the speed and accuracy to repeatably measure parts better than the traditional method.
Clients

Think3D has been a great partner for us in supplying COVID-19 test cartridges on-time despite the pandemic challenges. When we came up with a new requirement needing a workforce of more than 25 people, think3D took up the challenge and arranged the workforce within 2 days. I highly recommend think3D for any manufacturing needs.
Sanket Srivatsav
Production In-Charge, Molbio

As a professor doing research on new materials, I needed a strong industry partner to assist us. think3D perfectly fit that bill. think3D team is highly knowledgeable on all manufacturing technologies and the team is very prompt in responding to all our requests. My research has been very successful, thanks to think3D team.
Dr. Karthik Chetan V
Asst. Professor, BITS Pilani

We found issue with one part at the time of assembly and needed a quick replacement. think3D team has quickly responded to our request, redesigned the part and printed it using metal 3D Printing and delivered in 3 days time. The part came out really well and the design was better than that of the actual one.
Rama Krishna
Senior Manager (IMM), BDL























Few Case Studies


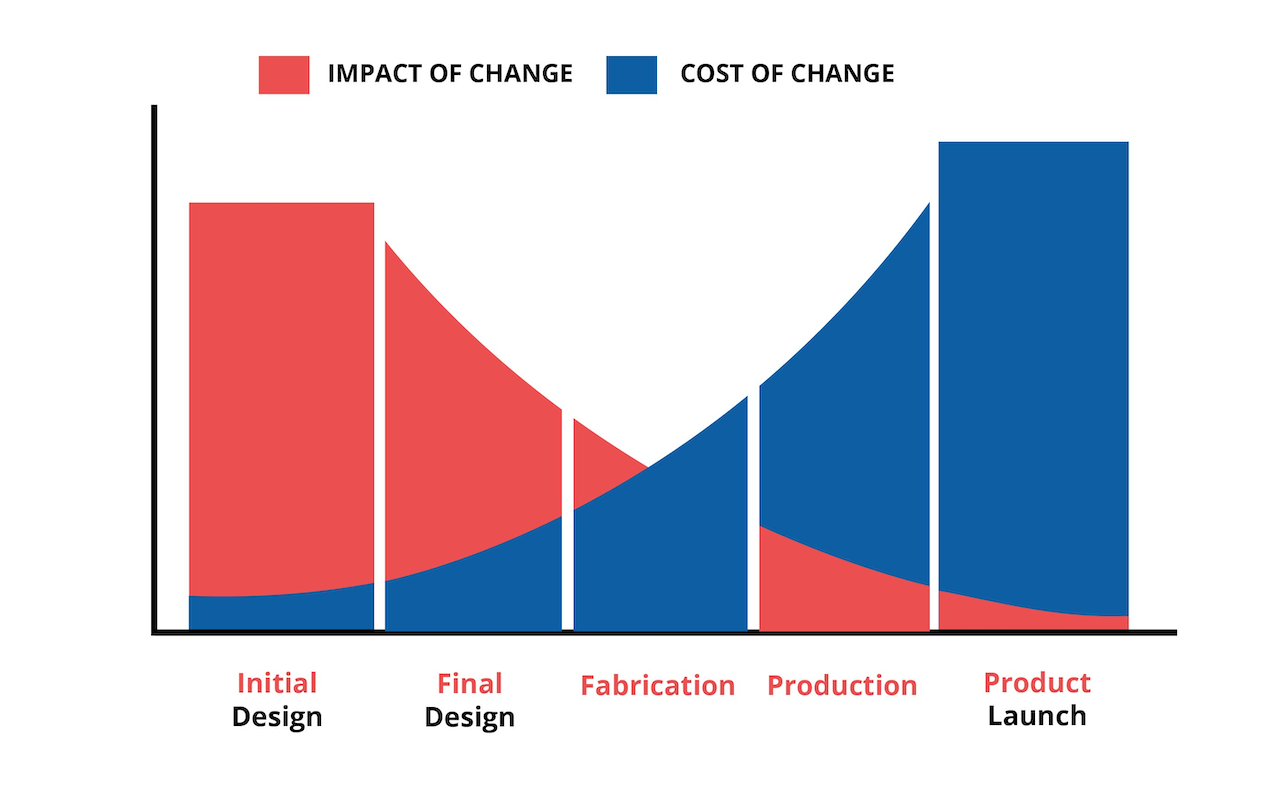
What is Design For Manufacturing (DFM)
3D Printing of Silicon
Frequently Asked Questions
3D scanning initially creates an output that is inherently different from what CAD programs understand. CAD programs use mathematics to define a shape and control its behavior.
3D scanners output a collection of points (a point cloud) which are measured from the object using xyz-coordinates. While this collection of points digitally visualizes the physical shape of an object, there is no mathematical relationship between the individual points.
These 3D scanning software packages allow for the vital conversion of the point clouds into mathematical data that CAD programs can understand. While some manufacturing processes can work with point data (SLA, and some CAM/machining), most cases require mathematical data for the file to be usable.
Generally, you can scan all visible not-too-shiny surfaces that do not move for at least a few seconds of scanning time. The 3D scanner range we offer can scan an object size of 60-500 mm, but can be adapted for scanning small objects with fine details or larger object like a car engine.
The best objects to scan with this 3D scanner are:
- Bounded by the specified 60-500mm in any dimension
- Opaque, not translucent/transparent
- Not-too-shiny surfaces
- Asymmetrical, with abundant scan alignment features
Start calibrating with the mid-point and then calibrate smaller or larger sizes. It’s easier to calibrate this way.