Skip to the content
Services
3D Printing
Plastics (FDM)
Resins (SLA)
Powders (SLS, MJF)
Metals (DMLS)
View All >>
3D Scanning
Digital Sculpting
Reverse Engineering
Dimension Inspection
CMM Measurements
View All >>
CNC Machining
CNC Milling
CNC Turning
CNC 5-Axis
CNC Turn Mill
View All >>
Molding & Casting
Injection Molding
Vacuum Casting
Sheet Metal
View All >>
Materials
Plastics
ABS
PLA
Nylon
PC
View All >>
Metals
Stainless Steel
Aluminium
Mild Steel
Brass
View All >>
Elastomers
Photopolymer
Agilus
TPU
TPE
View All >>
Others
Sandstone
Ceramic resin
Composites
LSR
View All >>
Resources
Knowledge Center
Latest News
Case Studies
Learning Center
White Papers
Industries
Medical
Automotive
Architecture
Manufacturing
About Us
Who We Are
Our Client List
Customer Speak
Careers
Get Quote
Contact Us
Services
3D Printing
Plastics (FDM)
Resins (SLA)
Powders (SLS, MJF)
Metals (DMLS)
View All >>
3D Scanning
Digital Sculpting
Reverse Engineering
Dimension Inspection
CMM Measurements
View All >>
3D Designing
CAD Modeling
3D Rendering
Miniature Design
Scale Models
View All >>
Machining & Molding
CNC Milling
CNC Turning
Injection Molding
Vacuum Casting
View All >>
Materials
Plastics
ABS
PLA
Nylon
PC
View All >>
Metals
Stainless Steel
Aluminium
Copper
Brass
View All >>
Elastomers
Photopolymer
Agilus
TPU
TPE
View All >>
Others
Sandstone
Ceramic resin
Composites
LSR
View All >>
Resources
Knowledge Center
Latest News
Case Studies
Learning Center
White Papers
Industries
Medical
Automotive
Architecture
Manufacturing
About Us
Who We Are
Our Client List
Customer Speak
Careers
Get Quote
Contact Us
Menu
Services
3D Printing
Plastics (FDM)
Resins (SLA)
Powders (SLS, MJF)
Metals (DMLS)
View All >>
3D Scanning
Digital Sculpting
Reverse Engineering
Dimension Inspection
CMM Measurements
View All >>
3D Designing
CAD Modeling
3D Rendering
Miniature Design
Scale Models
View All >>
Machining & Molding
CNC Milling
CNC Turning
Injection Molding
Vacuum Casting
View All >>
Materials
Plastics
ABS
PLA
Nylon
PC
View All >>
Metals
Stainless Steel
Aluminium
Copper
Brass
View All >>
Elastomers
Photopolymer
Agilus
TPU
TPE
View All >>
Others
Sandstone
Ceramic resin
Composites
LSR
View All >>
Resources
Knowledge Center
Latest News
Case Studies
Learning Center
White Papers
Industries
Medical
Automotive
Architecture
Manufacturing
About Us
Who We Are
Our Client List
Customer Speak
Careers
Get Quote
Contact Us
Category: Case Studies
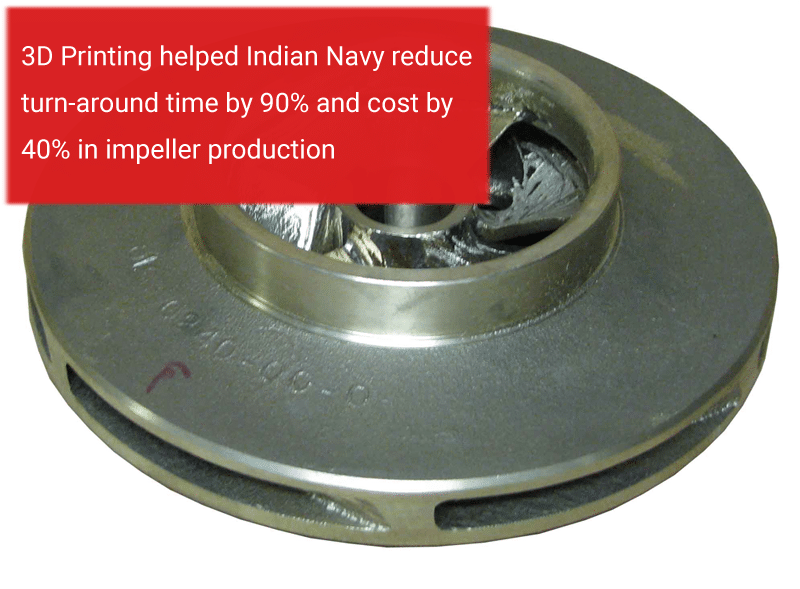
think3D helped Indian Navy solve its pressing problem
April 6, 2019
3 Comments
Read More »
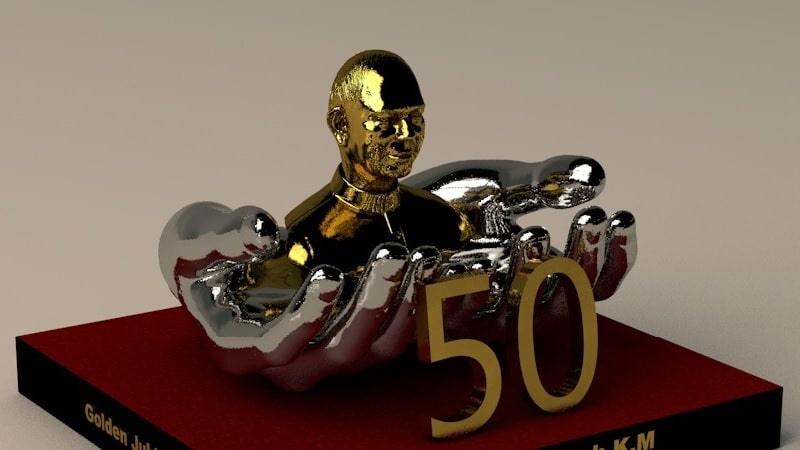
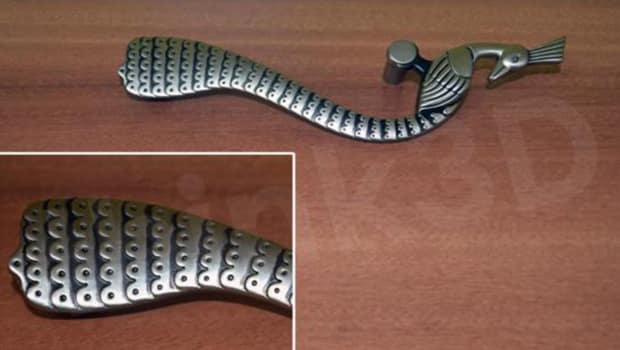
The perfect memento made possible with 3D printing!
July 6, 2017
2 Comments
Read More »
The reliable route for product development
July 6, 2017
No Comments
Read More »
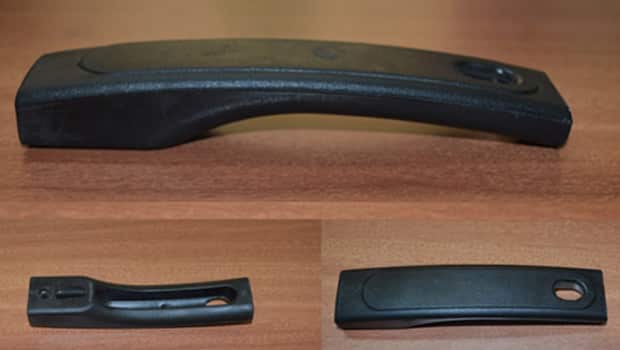
Reverse engineering a cooker handle
March 1, 2017
No Comments
Read More »
3D Printing makes it easy for Ezycook
July 7, 2016
No Comments
Read More »
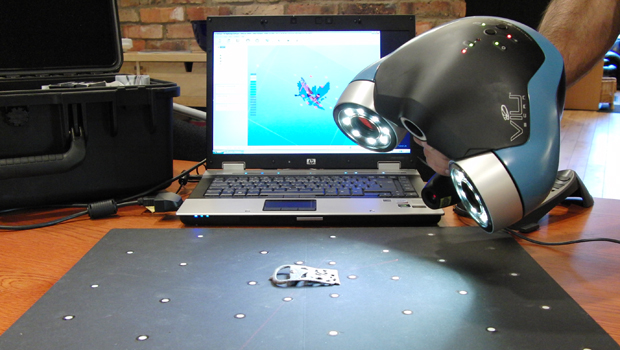
How 3D Printing & 3D Scanning helps your business
July 7, 2016
No Comments
Read More »
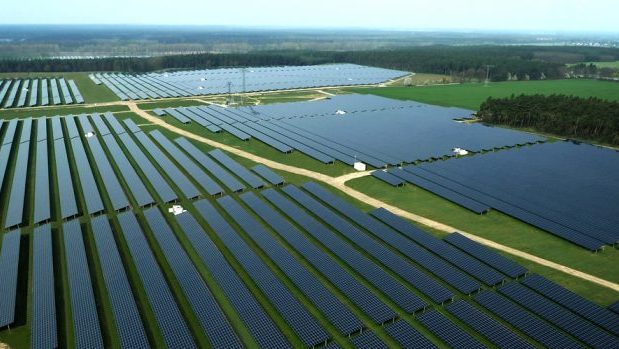
Accurate topology for Solar Park Planning with 3D Printing
July 7, 2016
No Comments
Read More »
How 3D Printing & 3D Scanning helps your business
July 7, 2016
No Comments
Read More »